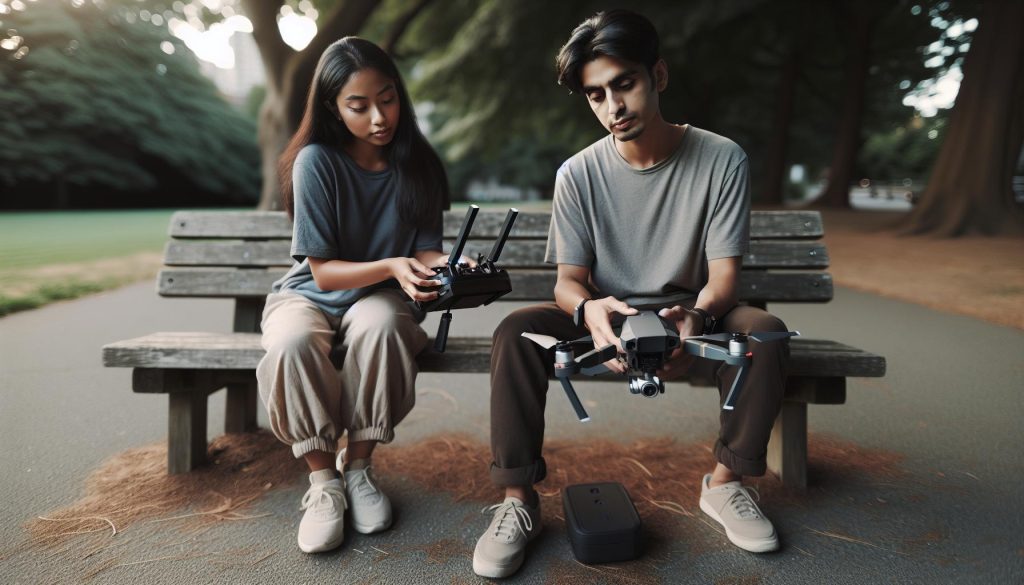
Connecting your DJI drone to its remote controller is a crucial first step in your aerial adventures-but it can sometimes be a frustrating challenge. Did you know that connectivity issues are among the most common problems new drone pilots face? Whether you’re gearing up for a breathtaking landscape shot or a thrilling flight, knowing how to troubleshoot your connection effectively can make all the difference. In this guide, we’ll walk you through the troubleshooting process like a pro, ensuring that you maximize your time in the air and minimize potential headaches. Get ready to unlock the full potential of your DJI drone and elevate your flying experience!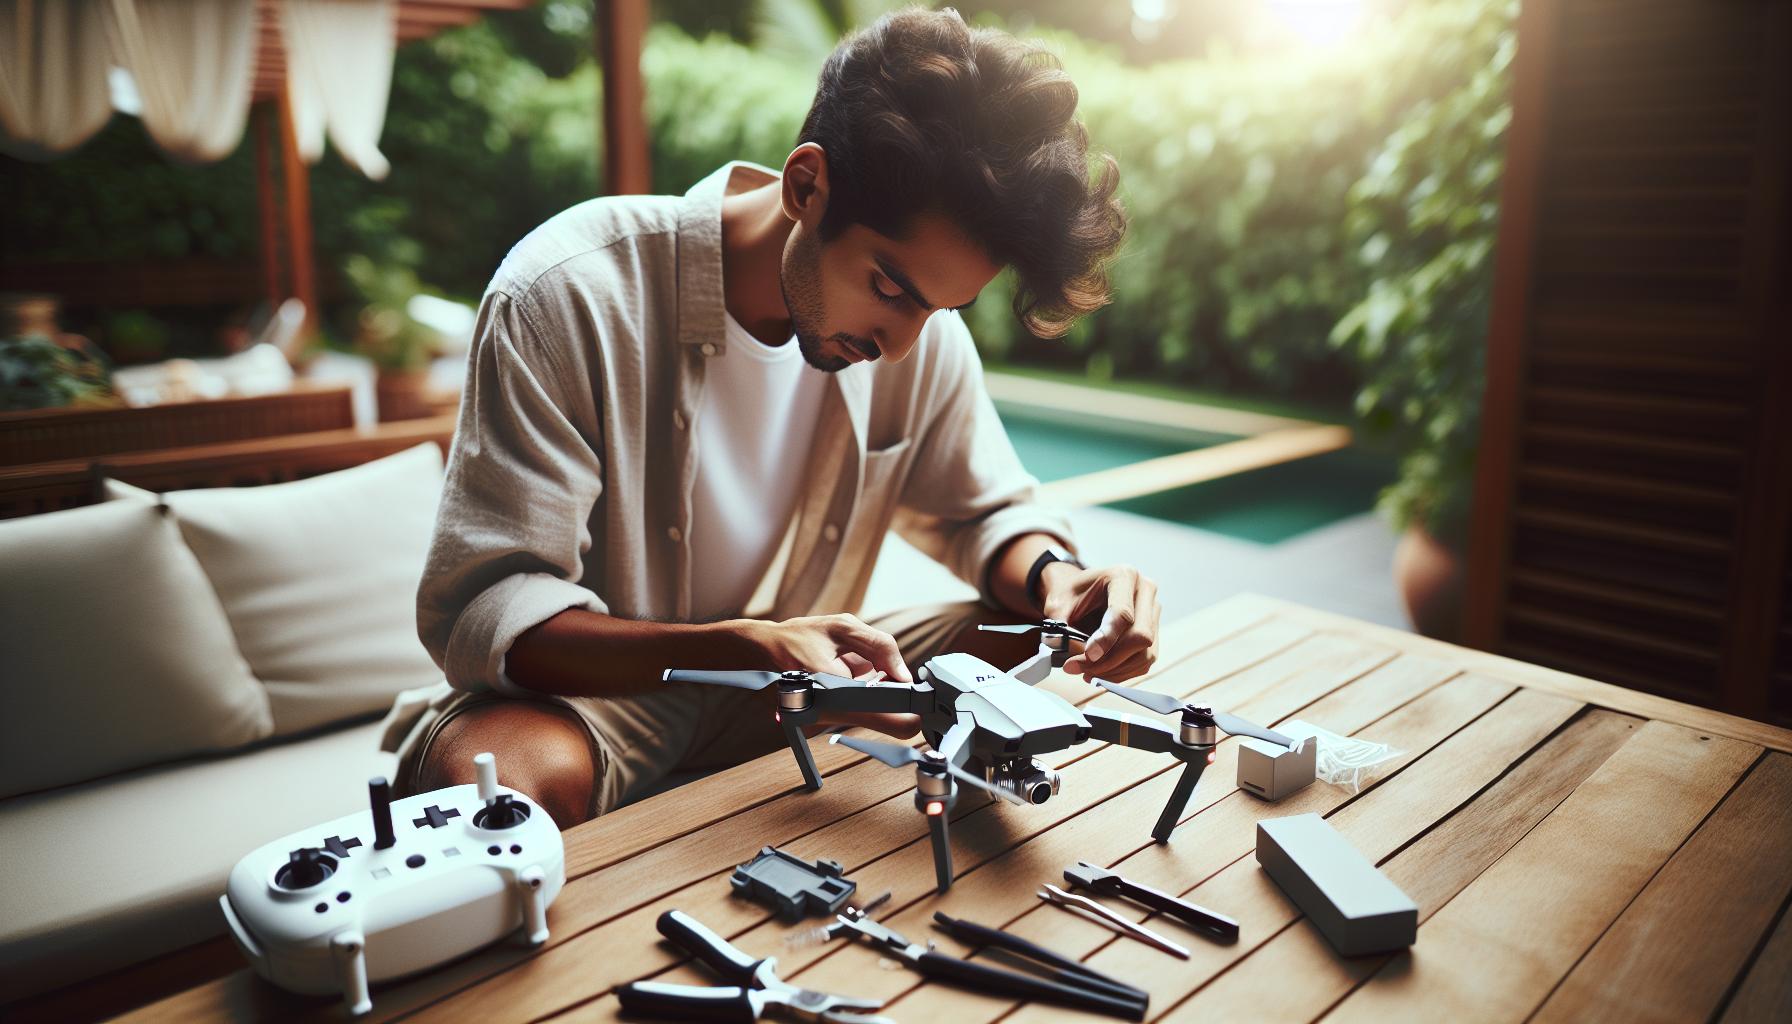
How to Properly Prepare Your DJI Drone for Connection
To achieve a seamless connection between your DJI drone and remote controller, being thorough in your preparation is crucial. Properly preparing your drone can mean the difference between a smooth flight experience and frustrating connectivity issues. Start by ensuring that both the drone and the remote controller are fully charged. If either device is low on battery, connection problems could arise. Additionally, it’s essential to download the latest version of the DJI Fly app on your smartphone. This app not only facilitates the connection but also provides critical updates and features for your drone.
Before initiating the connection process, check that your drone is in a location with minimal interference. Avoid areas with many electronic devices or other drones that may disrupt signal strength. Furthermore, ensure that the drone’s firmware is updated to the latest version. Outdated firmware can lead to compatibility issues, affecting performance and connectivity. If you’re unsure about the firmware status, the DJI Fly app can guide you through checking and updating it as necessary.
Once these preparations are set, initiate the connection sequence by powering on the remote controller first, followed by the drone. This order is essential for establishing a proper link. Wait for the indicator lights on the drone to signal readiness before attempting to connect via the app. Following these steps creates a stable foundation for a successful connection and enhances the overall functionality of your drone, ensuring it operates optimally and safely during your flights.
Understanding Your DJI Remote Control Options
Understanding the various remote control options available for DJI drones is essential for getting the most out of your flight experience. DJI offers a range of remote controllers tailored to different drone models, each equipped with unique features that enhance control, functionality, and range. Familiarizing yourself with these options allows for better preparation and smoother connections.
Most DJI drones come with either a standard remote controller or a Smart Controller. The standard remote features a built-in display that provides essential flight information and functions like adjusting gimbal and camera settings. In contrast, the Smart Controller incorporates a larger, high-resolution screen with an intuitive interface, allowing for advanced operations and easier navigation through menus in bright sunlight. Additionally, it offers enhanced connectivity options and a longer battery life compared to standard models.
When connecting your DJI drone to the remote, it’s crucial to understand the layout of buttons and sticks. The left joystick typically controls altitude and yaw, while the right joystick manages forward-backward movement and left-right rotation. Most remotes also include customizable buttons, giving you the flexibility to assign frequently used functions, like starting and stopping video recording, to a single press. This customization capability is particularly beneficial for capturing footage quickly while in flight.
To ensure your remote controller syncs effortlessly with your drone, check for any firmware updates regularly. DJI often releases updates to improve performance, add features, and resolve connectivity issues. Connecting to the DJI Fly app enables real-time updates, ensuring that both your drone and remote are running the latest software. This enhances connectivity and overall flight performance, setting a solid foundation for your aerial adventures.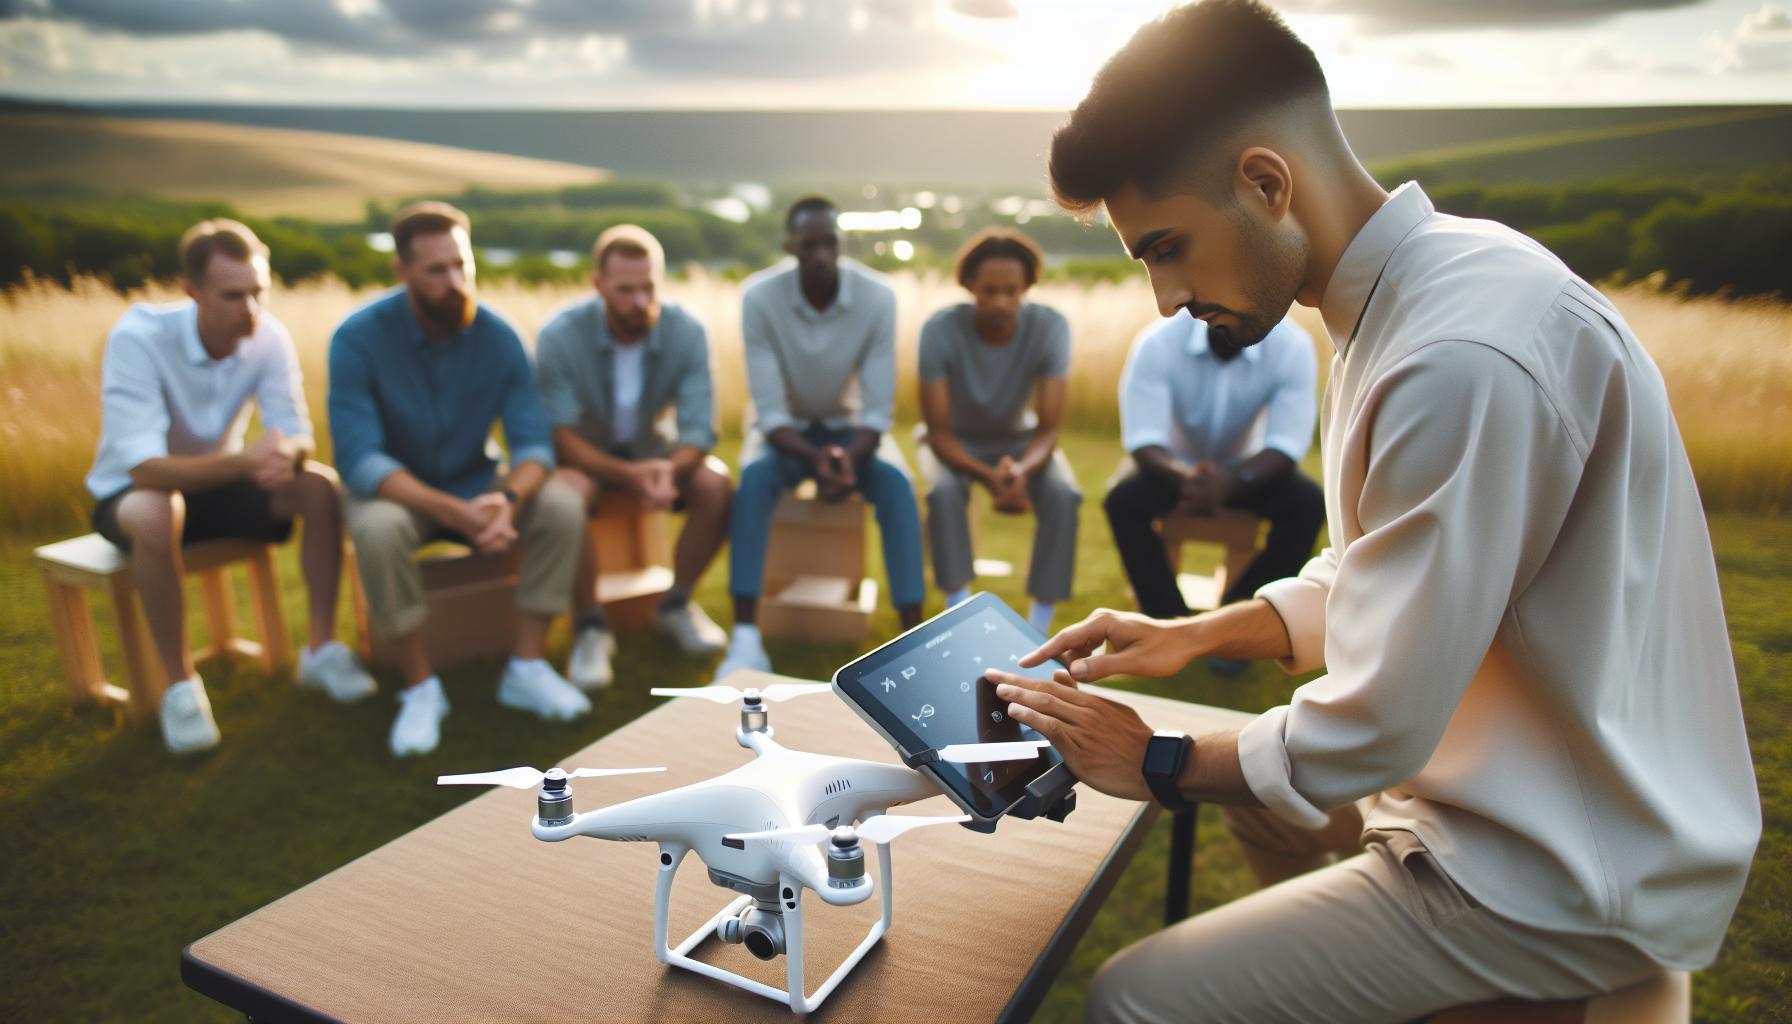
Step-by-Step Guide to Connecting Your DJI Drone
Establishing a solid connection between your DJI drone and remote controller is pivotal for a successful flight experience. In this guide, you’ll navigate through the step-by-step process of connecting your drone, ensuring that you’re ready to take to the skies with confidence.
Begin by ensuring that both your drone and remote controller are fully charged. A low battery can lead to unsuccessful connections or disconnects mid-flight. For most DJI drones, you’ll want to power on the drone first. This is typically done by pressing the power button once to check the battery level, followed by pressing it again and holding it until you hear a beep. Once the drone is powered on, it should automatically enter pairing mode if it’s not connected to any remote controller.
Next, power on your remote controller using the same method-press to check the battery and hold the power button until it beeps. Once on, open the DJI Fly app on your mobile device (if applicable) and ensure that it’s up to date. The app will recognize your remote and prompt you to connect if it is in pairing mode. If not, you may need to initiate pairing manually by selecting the “Connect” option within the app.
In case the devices don’t sync automatically, look for a pairing button often located at the back or side of the remote controller. Press this button and then quickly press the corresponding button on the drone (often found beside the battery hatch). Your drone should announce that it’s accepted the pairing request.
Once connected, you’ll see the live feed from the drone’s camera in the app and have access to extensive flight controls. Before taking off, verify that the firmware for both the drone and remote controller is updated to the latest version, as this can resolve many connectivity issues and enhance performance. Always conclude the setup by performing a brief system check for functionality, which includes testing the gimbal, camera orientation, and joystick responsiveness to ensure everything operates smoothly before you launch.
By following these steps carefully, you’ll ensure that your DJI drone is adequately connected and ready for flight, allowing you to focus on capturing breathtaking aerial footage without distractions.
Common Connection Issues and How to Fix Them
Establishing a reliable connection between your DJI drone and remote controller can be a straightforward process, but it also presents a few challenges that can disrupt your flight experience. Addressing common connection issues swiftly empowers you to enjoy your flights without frustration or delays. Many pilots encounter problems such as failure to enter pairing mode, inability to connect even when the devices are in pairing mode, or frequent disconnections during flight.
Identifying and Fixing Pairing Issues
One of the most frequent issues is when the drone and controller fail to enter pairing mode. Ensure both devices are sufficiently charged; low battery levels can prevent them from even entering this state. If both devices power on but don’t connect, reset their settings or try the pairing process again. For DJI products, you can initiate the pairing mode by pressing the respective pairing button located on the back of the remote controller and then the corresponding button on the drone. You’ll know it’s working when the aircraft’s LED status lights blink.
If the devices are in pairing mode but still refuse to connect, it might be necessary to update the firmware on both devices via the DJI Fly app. Firmware updates not only enhance performance but also resolve many underlying software issues that could hinder connectivity. A connected app will often prompt you if updates are available, making it easier to keep everything running smoothly.
Resolving Connection Interruptions
Another common concern is intermittent connection issues during flight, which can be particularly alarming. If your drone frequently loses its connection to the remote, check for possible interference from other electronic devices or physical obstacles. Maintaining a clear line of sight and flying away from dense urban areas can improve connectivity. Additionally, consider checking the antenna orientation on the remote controller; aligning the antennas properly can often enhance signal strength significantly.
For persistent problems, performing a firmware rollback might help, especially if the issues began after a recent update. Following these troubleshooting steps can not only get you back in the air but also help you to understand your equipment’s limitations and capabilities better, ultimately leading to a more enjoyable flying experience. By being proactive and familiar with these common issues, you can troubleshoot like a pro and ensure that every flight goes as planned.
Updating Firmware for Optimal Remote Performance
Keeping your DJI drone and remote controller updated with the latest firmware is crucial for ensuring optimal performance and reliability during your flights. Firmware updates not only add new features and functionalities but also fix bugs and enhance compatibility between devices. When you connect your drone, outdated firmware can lead to connectivity issues, reduced flight stability, or even safety hazards. Regularly checking for updates ensures that you are leveraging the latest advancements in drone technology, which can significantly improve your overall flying experience.
To update the firmware effectively, start by downloading the DJI Fly app on your mobile device. Once installed, connect your remote controller to the app via your smartphone. The app will automatically check for firmware updates. If an update is available, follow the prompts to download and install it. Ensure that both the drone and remote controller are fully charged before initiating the update to prevent interruptions during the process. After updating, it’s wise to conduct a brief test flight to confirm that the connection quality has improved.
In some cases, firmware updates may introduce new challenges, particularly if you encounter issues immediately after an update. Be prepared to troubleshoot by checking the DJI official support forums or user communities for similar experiences. If necessary, you might also consider downgrading to a previous firmware version that you found stable, particularly if you’re using a new or experimental software solution. Remember, maintaining the correct version can occasionally mitigate any potential incompatibility between devices. Being proactive with your firmware updates not only enhances flight efficiency but also promotes a safer flying environment by ensuring your drone operates with the best possible software available.
Calibrating Your Drone and Remote for Best Results
Calibration is a critical aspect of drone operation that ensures your DJI equipment can perform optimally and accurately responds to your commands. Without proper calibration, you may encounter issues such as drifting, erratic movements, and an improper understanding of your geographic orientation. This can result in frustrating flight experiences and, in worst-case scenarios, accidents. Therefore, taking the time to calibrate both your drone and remote controller not only maximizes performance but enhances safety during your aerial adventures.
To begin the calibration process, first, ensure that your drone is on a flat, stable surface, away from interference sources such as magnetic fields or large metal objects. Launch the DJI Fly app or your drone’s specific application, which will guide you through the calibration steps. Follow the prompts provided in the app, which generally involve moving the drone in specific ways – typically rotating it vertically and horizontally to allow the onboard sensors to accurately detect its orientation.
Here are key steps to follow for effective calibration:
- Gyroscope Calibration: Power on your drone and controller. In the app, locate the calibration menu, and follow the instructions to perform a gyroscope calibration. This usually involves keeping the drone stable and flat.
- Compass Calibration: Follow the instructions to perform a compass calibration. This may require you to rotate the drone vertically and horizontally in a figure-eight motion to ensure that the onboard compass reads correct magnetic orientation.
- Remote Controller Calibration: Ensure that the remote controller’s sticks and buttons are functioning correctly. Navigate to the remote calibration settings in the app, which allows you to adjust the sensitivity of the controls. Move the sticks to their extreme positions and ensure that the app registers these movements accurately.
It’s often advisable to re-perform calibration procedures after major firmware updates, crashes, or when flying in a new location with differing magnetic properties. If you encounter any issues during firmware updates or after calibration, consider visiting DJI forums or support pages for troubleshooting tips. This proactive approach will help you maintain a safer, smoother flying experience while taking full advantage of your drone’s capabilities.
Troubleshooting Signal Issues Like a Pro
Signal issues can disrupt your flight experience, but understanding how to identify and troubleshoot these problems will enhance both your flying confidence and safety. Many pilots encounter challenges like weak signals or intermittent connectivity, especially in areas with high interference. Taking proactive steps can help you troubleshoot signal issues and maintain a strong connection with your DJI remote.
One effective strategy is to examine your surroundings for potential interference. Objects such as buildings, trees, and even other electronic devices can obstruct the signal between your drone and controller. Try flying in a more open space, away from these obstacles, to assess whether the issue persists. If you notice improvements, it may indicate that environmental factors were degrading your signal strength. Additionally, ensure that your remote antennas are positioned correctly-facing the drone and angled slightly upwards can optimize signal reception.
Another common issue is the need for a firmware update. Outdated software may lead to poor performance or connectivity problems. Regularly check the DJI Fly app for available updates and ensure both your drone and remote controller are running the latest firmware. This not only enhances connectivity but also unlocks new features and fixes existing bugs that could disrupt signal integrity.
In case you continue experiencing signal loss, consider performing a factory reset of your remote and drone. This process clears settings that may have caused communication failures. Keep in mind that following this step, you’ll need to reconfigure your connection settings, so be prepared with any required information. Engaging with the DJI community forums can also provide insights from fellow pilots who might have faced similar issues, offering additional solutions based on their experiences.
By following these detailed troubleshooting steps, you can significantly minimize signal issues and enjoy a more reliable connection with your DJI drone. Remember, flying smart and being aware of your environment are key to successful aerial adventures.
Advanced Tips for Enhanced Drone Connectivity
To achieve stable and reliable connectivity with your DJI drone, it’s essential to employ advanced techniques that enhance your overall flying experience. One method is to familiarize yourself with the transmission technology used by your specific model. DJI often uses OcuSync or Lightbridge systems, which provide enhanced digital transmission capabilities. Understanding the technology can help you anticipate potential issues and utilize features like HD live view and extended range more effectively.
Another invaluable tip is to regularly monitor your battery levels-not just for your drone, but also for the remote controller. A low battery can lead to diminished signal strength or unexpected disconnections. Consider investing in high-quality, high-capacity batteries for your controller to ensure longer sessions in the field. Optimizing the charging habits of your batteries can also significantly extend their lifespan and effectiveness.
Utilizing the DJI Fly App to its full potential can further enhance connectivity. Regularly check for firmware updates and device compatibility enhancements through the app. The app also provides real-time telemetry data, including signal strength, which can guide your positioning for optimum performance. If you notice fluctuations in signal quality, moving a few steps in either direction can sometimes yield substantial improvements.
Finally, environmental considerations play a crucial role in maintaining a strong connection. Always be mindful of your surroundings and perform a pre-flight checklist to assess for interference sources. Flying in an open area with minimal obstacles will reduce the chances of signal degradation, while also optimizing your planning for potential obstacles during flight. If you’re in a crowded area, use the app’s map feature to select flight paths that avoid potential disruptions, ensuring a smoother, more enjoyable flying experience.
Understanding Compatibility Across DJI Models
Understanding the nuances of compatibility among DJI models can significantly enhance your flying experience and connection setup. Each DJI drone series-from the compact Mini models to the more advanced Mavic and Phantom series-features specific requirements for remote connection, firmware updates, and app functionalities. Being aware of these differences can save you time and frustration when preparing for a flight.
When choosing a remote controller, it is crucial to ensure its compatibility with your drone model. For instance, the DJI Mavic Air 2 can use the same controller as the Mavic Mini series, but the Mavic 3 requires a different controller equipped with advanced features. Consult the product specifications or the DJI website to verify which controllers are compatible with your drone to avoid connection issues. Additionally, the DJI Fly app is central to the operation of many newer models; thus, ensuring that the app is up to date and fully compatible with your device will streamline your connection process.
Moreover, firmware updates play a critical role in maintaining optimal performance across different models. Each drone may have unique firmware versions, and not keeping them synchronized can lead to connectivity problems or limited functionality. It’s advisable to regularly check for updates through the DJI Fly app, as these updates often include vital security patches, performance improvements, and new features that enhance compatibility and operational range.
Lastly, consider the environmental factors that may affect compatibility and connectivity. The range of OcuSync, a transmission technology used in many DJI drones, can vary by model. For instance, the Mavic 3 uses OcuSync 3.0, providing enhanced transmission capabilities over longer distances compared to earlier models. Understanding these distinctions ensures that you select the appropriate flight environment where taken advantage of each model’s strengths, guaranteeing a smoother, more reliable connection during your drone operations.
Essential Safety Checks Before Flight
Before launching your DJI drone into the skies, conducting essential safety checks is paramount to ensure a smooth and secure flying experience. Did you know that many reported drone incidents could have been avoided with simple pre-flight assessments? These checks not only help safeguard your equipment but also protect people, animals, and property on the ground.
Begin your pre-flight checklist by inspecting your drone and remote control for any visible damage. This includes checking for cracks in the body, signs of wear on the propellers, or loose connections that might affect performance. Ensure that the propellers are securely attached and free of debris to avoid mid-air malfunctions. Battery health is another critical factor; check that the battery is fully charged and that the contacts are clean. Inspecting the battery for any signs of swelling or leakage can prevent dangerous situations during flight.
Next, ensure that your flight environment is safe. Check the weather conditions; avoid flying in high winds, rain, or fog, which can significantly impact both visibility and control. Being aware of your surroundings is crucial; scan the area for obstacles such as power lines, trees, or building structures that could impede your flight path. Additionally, verifying that there are no crowds in the vicinity helps avoid potential injuries or privacy concerns.
Finally, conduct a systems check on your drone. Power on both the drone and the remote controller, and confirm that they are properly connected through the DJI Fly app. Run through the calibration process if necessary, ensuring optimal performance and navigation accuracy. It’s wise to perform an initial short flight to test controls, responsiveness, and connectivity before venturing further afield. By following these simple yet vital steps, you can significantly reduce risks and enjoy a more confident flying experience.
Quick Safety Checklist
- Inspect drone and remote control for damage
- Check battery health and charge
- Examine propellers and secure attachments
- Assess weather conditions and surroundings
- Conduct a systems check and calibration
Exploring Flight Modes After Connection
Once you’ve established a successful connection between your DJI drone and its remote control, you’re ready to explore the various flight modes that can enhance your aerial experience. Familiarizing yourself with these modes not only boosts your flying confidence but also allows you to get the most out of your drone’s capabilities, regardless of whether you’re a beginner or a seasoned pro.
DJI drones typically offer several flight modes, each tailored for different scenarios and pilot skill levels:
- GPS Mode: This is the default mode that offers stable flight performance aided by GPS positioning. It’s great for beginners, as it helps maintain altitude and location.
- ActiveTrack: Designed for tracking moving subjects, this mode allows the drone to lock onto your target and follow it autonomously, freeing you to focus on framing the perfect shot.
- Point of Interest (POI): Use this mode to circle around a specific point of interest. The drone will maintain a fixed distance while rotating around the target, ideal for creating dynamic video footage.
- Waypoint Mission: Customize your own flight path by setting multiple waypoints for the drone to follow. This advanced feature is perfect for complex filming sequences or surveying large areas.
- Sport Mode: If you’re looking to push your drone to its limits, Sport Mode allows for rapid speed and agility, making it suitable for racing and advanced maneuvers. However, be cautious, as it may reduce stabilizing features.
Each mode comes with its own set of features that can significantly affect your flight experience. For instance, new pilots might find themselves drawn to GPS mode for its ease of use, while more experienced operators may delve into the intricacies of waypoint missions for creative filmmaking or surveying purposes. Regardless of your choice, it’s vital to fully understand how to activate and navigate these modes via the DJI Fly app, ensuring you can switch seamlessly during flight as conditions or filming needs change.
Before you take off, remember to familiarize yourself with the specific settings and limitations associated with each flight mode on your particular drone model. This knowledge empowers you to leverage your drone’s full potential, leading to more enjoyable and successful flights. Whether you’re capturing breathtaking landscapes or navigating complex environments, mastering these flight modes will elevate your drone flying skills to new heights.
Maximizing Your Drone’s Features Through Remote Control
Establishing a solid connection between your DJI drone and its remote control is more than just about getting off the ground-it’s about unlocking the full potential of your flying experience. Effective use of the remote control can transform your aerial shots and overall flight performance, allowing you to fully utilize each feature your drone offers. Understanding how to maximize these features not only enhances the quality of your flight but also boosts your confidence as a pilot.
One of the primary ways to leverage the capabilities of your drone is through the DJI Fly App, which serves as an intuitive interface for managing various settings and functionalities. The app provides access to flight modes tailored for specific scenarios. Familiarize yourself with these options, as they can dramatically change how your drone behaves in the air. For instance, enabling ActiveTrack allows your drone to autonomously follow a subject, alleviating the burden of manual steering and letting you concentrate on capturing the perfect angle. Likewise, Point of Interest (POI) mode can help you create dynamic footage by orbiting around a subject, enhancing your video storytelling.
Moreover, custom settings allow you to adjust parameters like camera angles and exposure settings directly from the remote, offering a seamless shooting experience. Take the time to personalize these configurations to fit your shooting style, whether it’s slowing down for precision shots in Waypoint Missions or ramping up speed during an exciting flight in Sport Mode.
Additionally, maintaining optimal communication between the remote and drone is crucial; thus, regular updates to the firmware through the DJI Fly App can significantly improve functionality and resolve bugs that may hinder your experience. Pairing the right accessories, such as custom battery packs or high-capacity microSD cards, further enriches your flight capabilities and storage, ensuring longer flight times and more data capture opportunities.
Incorporating these strategies not only makes your flights easier but also empowers you as a drone operator to experiment creatively while ensuring safety and efficiency. Whether you’re shooting stunning landscapes or capturing high-speed action sequences, mastering the remote’s features will undoubtedly elevate your aerial endeavors to new heights.
FAQ
Q: What should I do if my DJI drone won’t connect to the remote control?
A: If your DJI drone won’t connect to the remote, first ensure that both devices are charged and powered on. Try restarting both the drone and the remote. Also, check for any firmware updates needed, as these can impact connectivity. For a detailed troubleshooting guide, refer to the “Common Connection Issues” section of your article.
Q: How do I reset my DJI remote control to restore connectivity?
A: To reset your DJI remote control, locate the reset button, usually found on the side or bottom of the device. Press and hold this button for a few seconds until you see a light flash indicating the reset is complete. After resetting, reconnect to your drone as per the connection instructions in your article.
Q: Why is my DJI drone’s remote control not responding?
A: If your DJI drone’s remote is unresponsive, check if the remote is fully charged and that its battery is functioning correctly. Ensure you’re within range of the drone and that there are no signal obstructions. Reviewing the “Troubleshooting Signal Issues” section might provide further insights.
Q: How can I improve the connection between my DJI drone and remote control?
A: To optimize the connection, ensure that both devices have the latest firmware updates installed. Additionally, maintain a clear line of sight between the drone and remote and try repositioning to improve signal strength. Explore “Advanced Tips for Enhanced Drone Connectivity” in your article for further strategies.
Q: What are the compatibility issues between different DJI drone models and remotes?
A: Different DJI drone models may have unique remote controls, which can lead to compatibility issues. Always consult the “Understanding Compatibility Across DJI Models” section of your article to verify which remote works with your specific drone model before attempting to connect.
Q: How can I update the firmware on my DJI drone and remote?
A: To update the firmware, connect your drone and remote to the DJI app on your smartphone or desktop. Navigate to the firmware update section within the app, and follow the prompts to install any available updates. This process ensures optimal performance and connectivity; refer to the “Updating Firmware for Optimal Remote Performance” section for step-by-step instructions.
Q: What safety checks should I perform before connecting my DJI drone to the remote?
A: Before connection, perform essential safety checks including ensuring the propellers are securely attached, checking battery levels in both devices, and verifying that the take-off area is clear of obstacles. For a comprehensive list, consult the “Essential Safety Checks Before Flight” in your article.
Q: How do I troubleshoot interference issues while connecting my DJI drone?
A: To troubleshoot interference, identify potential sources of signal obstruction, such as tall buildings or metal structures nearby. Switching to another frequency band, if available, can also help. For further insights, check the “Troubleshooting Signal Issues Like a Pro” section of your article for effective strategies.
Future Outlook
Now that you know how to connect your DJI drone to its remote like a pro, don’t let any issues keep you grounded! Dive deeper into our comprehensive guides on troubleshooting common drone problems, or explore our tutorials on flying techniques and safety practices to enhance your skills. Whether you’re learning about firmware updates or the nuances of gimbal calibration, your next steps are just a click away.
If you’re eager to stay informed on the latest in drone technology, consider subscribing to our newsletter for expert tips and updates. Feeling confident with your setup? Join our community in the comments below to share your experiences and connect with fellow drone enthusiasts. With practice and knowledge, you’ll take your aerial adventures to new heights-let’s keep flying!

